February 27, 2012

Gossip bench!!!!


I have always loved little gossip benches! I remember going to auctions with my dad and always being drawn to these cute little chairs. Well, Troy and I were at an auction recently and I bought several pieces of furniture including a gossip bench. I didn't even notice it when I passed by earlier in the day mainly because people were sitting on all of the furniture..GRRRR! It was the end of the auction and Troy had already started to load the van with my other buys while I scoped out the last auction items. I wasn't paying much attention until I looked over at the auctioneer and saw what he was sitting on. He actually auctioned off the bench WHILE sitting on it! I decided it must be sturdy and I decided to bid and win I did. When Troy came in from loading and reloading the furniture so it would all fit, I was standing there holding my prize. Lets just say he wasn't impressed, but he picked it up and found it a space because he loves me so much!


Soooooo, this gossip bench wasn't much of a beauty, but it had nice legs and a curved back that appealed to me.


The first thing I did was to sand the laminate table top so the primer would stick better. I will never understand why the tabletop is the only thing on this bench that isn't solid wood....just strange. I then lightly primed the high traffic areas on the bench with spray primer. I had the hardest time deciding what color to paint this piece because I hadn't found any fabric that seemed right. The bench sat in our shed for a few weeks until I spotted this cute black fabric with funky green leaves. The green screamed 70's which fit perfect with this retro bench. Once I painted the bench with my new sprayer, I gave it a light distressing.


I hope you enjoy the pop of color as much as I do!!! I recovered the bench pad and made a pillow for the back and added a couple of coordinating fabric roses to the pillow. I love this bench!!!


.

January 15, 2012

Waterfall beauty

I have a new favorite piece of furniture at my house!!!! She's a golden curvy beauty and I LOVE HER!!!


Isn't she pretty! I can't decide whether to paint her or take her back to her former life as a golden beauty queen. The cedar inside is in great shape, but there are quite a few scrapes on the top and it's missing the lock. Give me your opinion!!! :)

December 29, 2011

Better late than never! Christmas sign tutorial

This is a late post, but somewhere in the middle of Christmas preparations I forgot to sit down and post this simple gift idea.  My husband's extended family has always gotten together on Christmas and exchanged homemade gifts.  This year we drew one of his Aunt's and a cousins names out of the bowl.  I had planned on making these amazing signs from Dittle Dattle which I LOVE!!!

I tried several times, but I just didn't like my handwriting.  I wonder if other people hate their handwriting?  My handwriting is not that bad, but I see ALL the imperfections and tend to write larger as I move down a paragraph.....  Moving on ;)  Isn't Carrie's Thankful sign above just SWEET?!?!  I still plan on making one for me with all the wonderful things in my life listed for all to see!


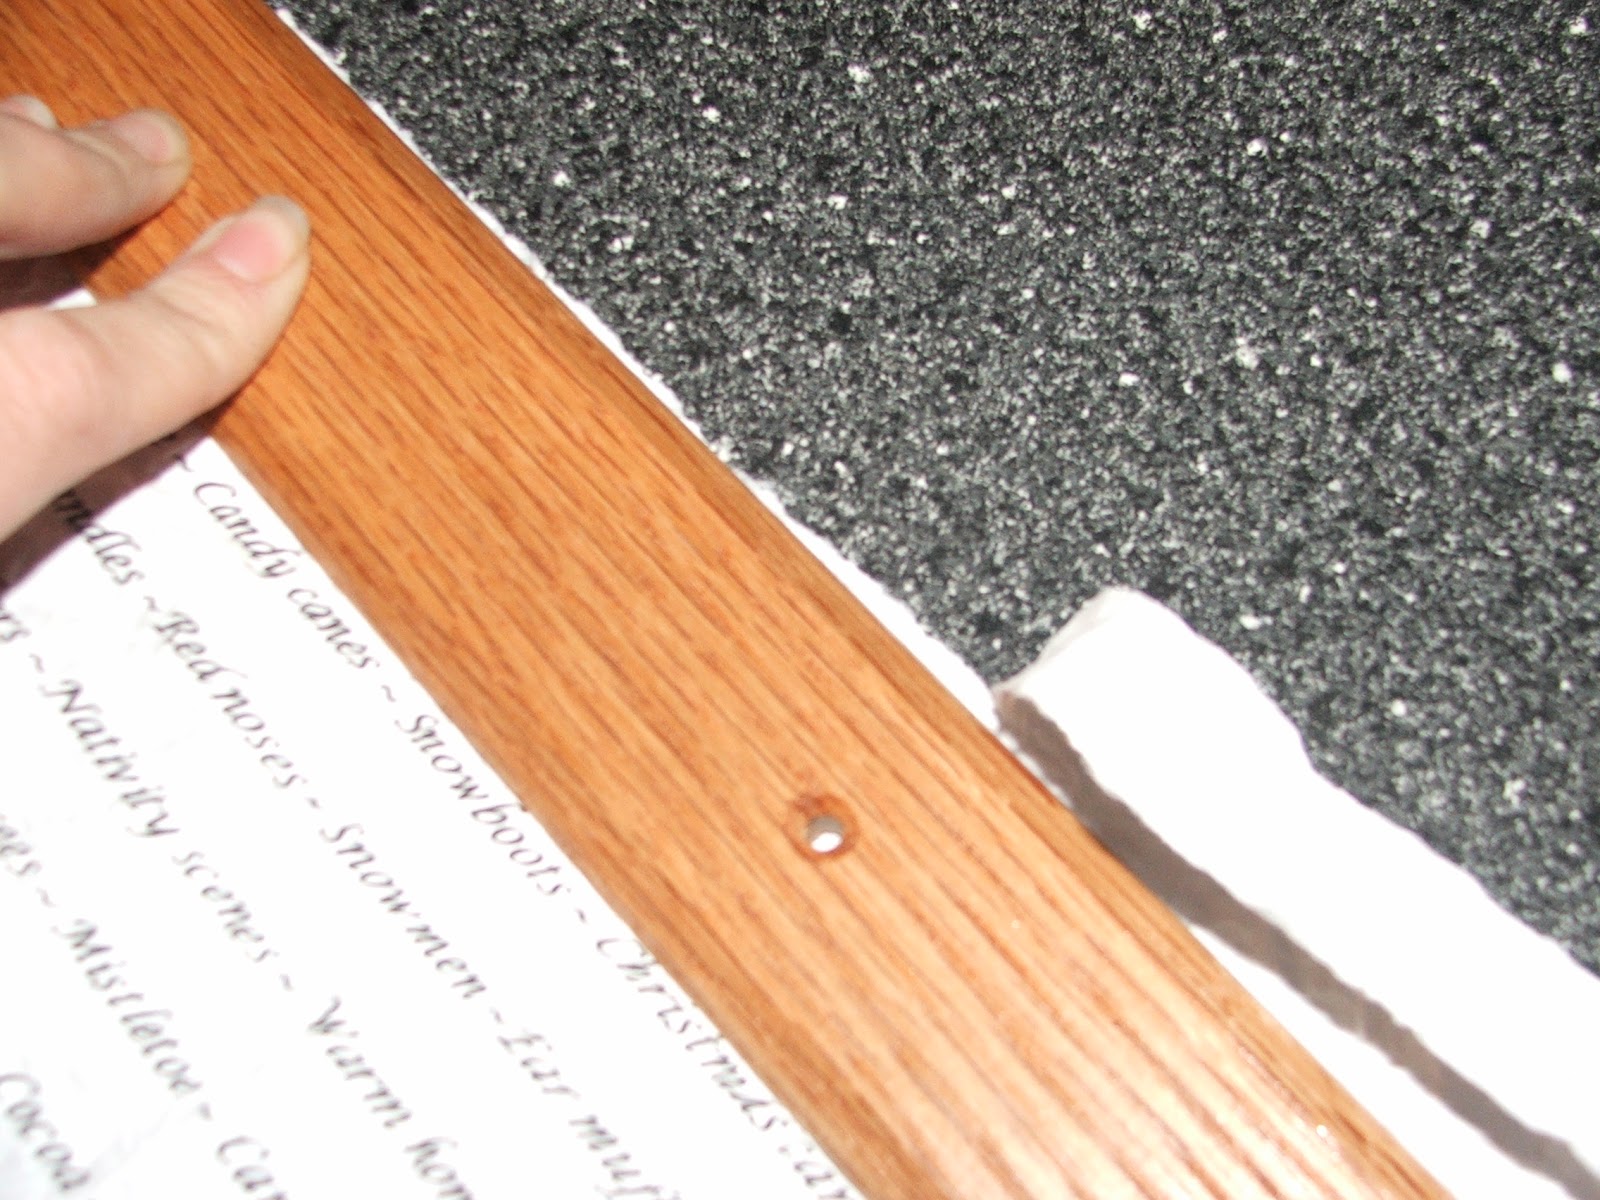
Well, back to my Christmas gifts.  I finally decided that I was going to use the computer or I would never get these projects done.  I printed my list of words that made me think of Christmas on a plain sheet of paper.  Then I wadded and wrinkled the paper so it would soften and accept more dye later.


This next step can be done before or after you wad the paper.  Take a straight edge and tear off extra paper to create a torn soft edge that will soak up the dye.


I found a package of black Rit dye in a drawer and mixed a tablespoon or two with water in a bread pan.  I placed it in the bottom of the sink because....well....I tend to make a mes.  I dipped the paper in the water for a few seconds and gently wrung the water out. The paper will dry several shades lighter so don't worry if you think it's too dark.


This step is tricky, because you now need to gently unwad the wet paper without tearing it up too much.  Lets just say I had to do this step several times.  Once your paper is flat lay it on a paper towel to absorb the extra water and let it air dry or if you are impatient like me gently use a blow dryer.


I used postal wrapping paper to be a backer for the dyed paper.  I could have used a grocery bag, but the crease in the bag was going to show in the frame so I opted to spend a little extra since these were gifts.


I centered the dyed paper on the postal paper I cut to the size of the opening and glued them together.


After cleaning the glass I put the frame back together and went upstairs to get my Cricut.  I cut out the word Christmas in vinyl and placed it in the center of my frame using the words behind as a guide.


This is the final product, now I need to make one for myself to put on the piano since these will be leaving my house soon!


.

December 9, 2011

I've been featured!!

WoooHoooo!!!!  I've been featured for the first time and I am sooo stinking excited!!!  Hannah over at Young and Crafty feature my desk and chair on her blog!  Thanks, Hannah!!!


.

December 7, 2011

Bookpage wreath tutorial

Today we are decorating our tree and are making ALL of the ornaments!!  I'm not sure where our tub of ornaments is located and I decided for once we could go back to basics and make decorating the tree truly special.  My girls are still going crazy making new ornaments and I'm enjoying every minute.

One thing we are putting on our tree are small bookpage wreaths and cones made out of old unwanted books.  These are SUPER simple and can be decorated in soooo many ways.

First, tear a page out of your book and decide how big you want your cones to be in the end.  If you want small cones just cut your paper in half or even quarters for tiny cones.  Then just take your cone like I have below and twist it into your desired shape and then glue or hot glue the edge.


Once your cones are made you can use any shape of thick cardboard as a backer for your wreath.  I cut a 3 inch circle out of poster board and put a dot in the center of the circle for my mini wreaths.  This is the time to glue a ribbon hanger between your backer and the cones to make everything seamless!


I then started placing cones on the circle at 12, 3, 6 and 9 o'clock and then fill in so everything stays fairly even.  After you have your first layer you can glue on another layer of smaller cones or decorate it however you want!!

Here is the finished product 


I used the back cover of the book for my rectangle wreath's base instead of cutting one out of poster board.


Thanks for stopping by and if you would like one of the mini wreaths below go  HERE for details on how to win one!!!!  I can't wait to giveaway one of my mini bookpage wreaths!!


.


November 8, 2011

Square book page wreath


I am addicted to book page wreaths!!!  They are so pretty and look great in my old house!!  My husband is a book pack rat and I rocked his boat when he came home to torn up books.  Most of the books I used weren't even ours, but garage sale leftovers from my sister.....hope she didn't want any of them!  He has an issue with throwing ANY book away, but after looking all the books up on Amazon he said it he was ok with me using them as long as I stayed away from his old sci fi books.....what a geek!  It's not that he's a jerk about getting rid of books, he just can't stand the thought of putting one in the trash can...even if it's an outdated manual!!  Love him!!!


This is my favorite one so far!!  It's a large square and I made five paper roses to add a pop of color.  It looks so much prettier in person!!


.


November 1, 2011

Distressed frame/dry erase board

Distressed dry erase board - $20.00

This large frame can be used as a dry erase board, but the back is removable so you can change the fabric or use it as a frame.  Inside dimensions are approximately 13 1/2 x 16 inches.


.